
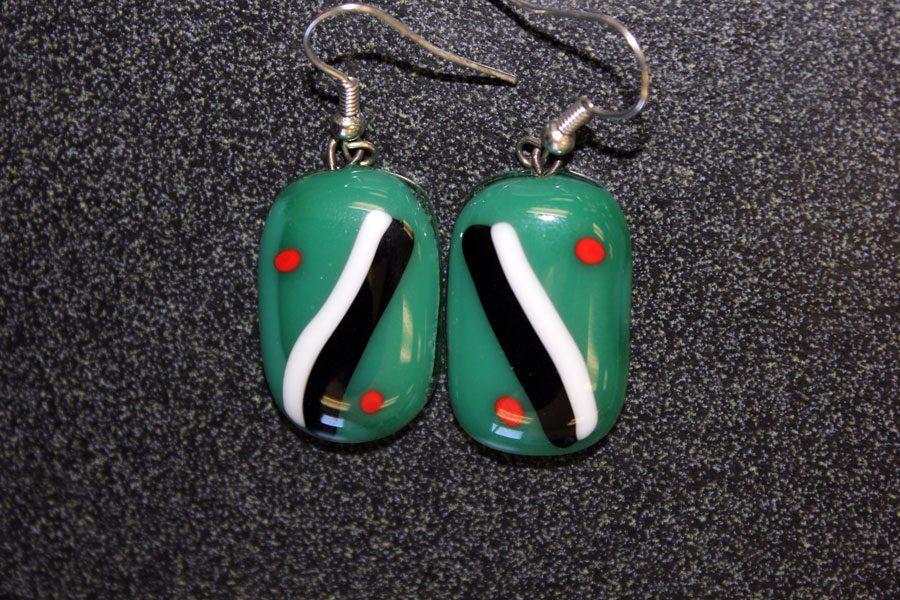
How to Make Glass-fused Earrings
November 17, 2016
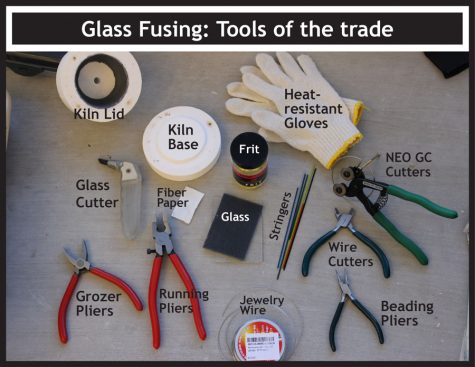
Glass fusing is such an amazing project! The possibilities are endless! It’s all about imagination and patience. If you have these traits, you would probably enjoy this very much. Here are the tools and materials you will need:
You’ll need:
- Microwave
- Microwave kiln
- Heat resistant gloves
- Fiber paper
- Glass (fusible)
- Glass cutter
- Running pliers
- Grozer pliers
- NEO GC cutter
- Stringers/Frit (for design)
- Jewelry wire that is fusible (nichrome wire 20 gauge)
- Wire cutters
- Beading pliers
Start by preparing your kiln for firing by following the firing instructions that come with your kiln. You do this by firing the kiln alone before actually fusing glass inside. (The kiln is like a mini-oven that you bake glass in.) Once you’ve done that, you need to cut your glass.
With the glasscutter, run it along the glass, scratching it. Do not go back and forth with it, just make one straight line. Using the running pliers, crack the glass in half. Use the NEO GC cutter to cut the stringers for designs like stripes and polka dots.
Once you have your glass and design ready to go, create an earring loop with your jewelry wire and beading pliers. Now you have everything you need, and you’re ready to go. This part takes the most patience — you have to be very still and you may have to start over a few times. Don’t forget the fiber paper!
You must cut your fiber paper to fit on the base of the kiln, not hanging off. You can use the same piece of fiber paper again, only once after the first fuse. Set your fiber paper in the middle of the kiln base; place your two bottom pieces of glass on top of that, evenly apart. Add the wire loop to the top of your first piece of glass, then your second piece of glass on top of that so that the wire loop is in between your two pieces of glass. Next you’ll place your design on top of that.
It’s time to fuse! Now, very slowly move the base of the kiln into the middle of your microwave. If you move or shake it even just a little, your pieces may move and you’ll have to start your design all over.
Next, add the top of the kiln to the base of the kiln, and set the microwave for three minutes on a high setting. When done, use the heat-resistant gloves to carefully remove the kiln from the microwave and set it on a concrete or heat-resistant surface to cool.
Let the kiln and glass cool for 30 minutes before opening. Then, open it up and check out your beautiful fused glass earrings. All you have left to do is attach the earring hook to the earring loop, and you’re done!